Posts

Showing posts with the label my designs

how to crochet a cute & cozy teddy bear | free pattern + video tutorial (NO magic ring!)

Image
Hi everyone! This is the written pattern for my youtube tutorial . Please watch the demonstrations in the video before following the pattern. Share your work with me and my community using  # crochetwithmahum on all social media platforms, happy crafting! Abbreviations: ss - slip stitch / sc - single crochet / increase - 2 sc in the same stitch / fake magic ring - make a slip knot, chain 3, ss into the 1st chain, chain, then insert round 1 into the circle formed between the chains OR make a regular magic ring  1. Head Round 1 - 8 sc Round 2 - 2 sc in every stitch (16) Round 3 - 1 sc, increase (24) Round 4 - 2 sc, increase (32) Round 5 - 3 sc, increase (40) Round 6 to 13 - 1 sc in every stitch (40 in each round) Round 14 - 3 sc, decrease (32) Round 15 - 2 sc, decrease (24) Round 16 - 1 sc, decrease (16) Round 17 - 8 decreases Face (embroider the nose then sew onto the head) Round 1 - 8 sc Round 2 - 2 sc in every stitch (16) 2. Hat Round 1 - 8 sc Round 2 - 2 sc in every stitch (...

how to crochet a cute mini bunny & bear plushie | easy amigurumi tutorial + free pattern (no magic ring!)

Image
Hi everyone! This is the written pattern for my video tutorial on YouTube . Please watch the video for demonstrations and to understand how this pattern works. I hope you love your mini plushies! You can also turn them into cute keychains and bag charms. Here's my amazon storefront with all the materials and yarns I used and here's my Yarnsea page where you can find material kits for my tutorials and patterns. Quick reminder that you can get one month of Skillshare for free using this link , which includes access to my new classes How to Crochet a Granny Square Handbag and Craft a Custom Crochet Sweater for Plushies and Stuffed Animals :) Abbreviations + Notes: ss - slip stitch / sc - single crochet Start EVERY piece with a regular or “fake” magic ring! To make a fake magic ring - make a slip knot, chain 3, ss into the 1st chain, chain 1 (doesn’t count as a stitch), then insert the stitches for round 1 into the circles formed between the chains Head Round 1: 6 sc  Round 2:...

how to crochet the cutest mesh cardigan/top | made-to-measure pattern and tutorial for any size!

Image
Learn how to crochet a mesh cardi with me :) This pattern and my video tutorial on youtube explain how to follow and customise a made-to-measure design to create the perfect fit for you! You can adjust the measurements to make a full-length or cropped top with short, midi, or long sleeves. Materials: 3, 3.5, or 4 mm hook with 250-400 grams of any DK weight acrylic/cotton yarn (depends on your size) I used a 3.5 mm hook with around 250 grams of my favourite acrylic yarn from amazon to make a size small mesh cardigan. Measurements of my finished cardigan: Please only use this as a reference because different yarn/hook size, stitch tensions, and other variables can make a difference in size even if you do the same exact measurements as me! Length of full top from shoulder to end - 18 inches Width of back panel - 14 inches Width of each front panel - 6.5 inches Sleeve length - 18 inches If you found this tutorial/pattern helpful, please support my channel by signing up for ...

how to crochet the cutest mesh bag (any size!) | beginner-friendly tutorial + easy V-stitch pattern

Image
Hi everyone! Here's the written pattern for the perfect mesh bag for summer :) I recommend watching the video tutorial for step-by-step demonstrations and using this pattern as a reference.  You can find all the materials/yarns I used on my amazon storefront . I recommend using a dk/medium-weight yarn with a 4, 4.5, or 5 mm hook to make the bag sturdy.  Abbreviations: ss - slip stitch / dc - double crochet  Part 1: Base - Chain the width you want for the bag (I did 36 chains for a width of around 9 inches) - Chain 2 more then insert 6 dc into the 3rd chain from your hook (mark the 1st dc) - Insert 1 dc into every chain down the row - Insert 6 dc into the last chain - Now work on the other side of your work! Insert 1 dc into the backs of every chain - To end the 1st round, ss into the 1st dc - To start the next round, chain 2. Insert 2 dc in the same stitch x 6 times - Insert 1 dc into every stitch until you reach the stitch marker - Insert 2 dc in the same stitch x 6 tim...

how to crochet a cute and easy cat plushie | free pattern + step-by-step video tutorial

Image
Hi everyone! Here's the written pattern for my YouTube tutorial . Please refer to the video for step-by-step demonstrations if you're confused. You can use acrylic/cotton yarn with a 4 mm hook for a smaller cat or fluffy/chenille yarn with a 4.5 or 5 mm hook for a slightly larger hand-size cat. All the materials and yarns I used can be found on my amazon storefront ! Abbreviations: ss - slip stitch / sc - single crochet / increase = 2 sc in the same stitch / decrease = invisible decrease - insert your hook into the front loops of the next 2 stitches, yarn over and pull through 2 loops, then yarn over and pull through 2 loops again Important notes: Start each piece with a regular or fake magic ring. The total stitch counts for each round are written in brackets (X). End each piece with a slip stitch and chain 1 to fasten off. For assembly and joining the pieces to make the plushie, please watch the video tutorial for a short sewing demonstration! 1. Head Round 1 - 8 sc Round 2 ...

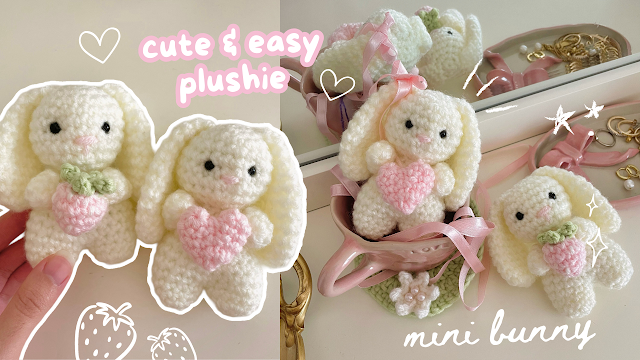
how to crochet cute bunny holding a heart/strawberry | easy mini plushie tutorial and free pattern

Image
Hi everyone! This is the written pattern for my youtube tutorial . Please remember to mark the first stitch of every round with a stitch marker or bobby pin and refer to the video tutorial for demonstrations.  If you find this pattern & tutorial helpful, please support my channel by signing up for a completely free trial of Skillshare (my favourite online learning platform with over a thousand creative classes - I've been working with them as a sponsor for more than a year now thanks to you!):  click to sign up :) Abbreviations/notes: ss- slip stitch / sc - single crochet / increase - 2 sc in the same stitch / decrease - invisible decrease by sc 2 stitches together / stitch counts are in brackets (X) after each round Start every piece with a magic ring and chain 1 (ignore the chain because it doesn't count as a stitch!). End every piece by slip stitching the marked stitch, chain 1, then cut and pull to fasten off. 1. Head Round 1: 6 sc Round 2: 2 sc in every stitch (12) R...

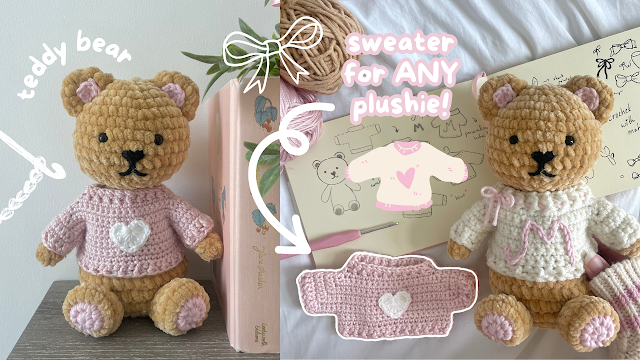
how to crochet a cute teddy bear wearing a sweater | easy tutorial & free pattern

Image
Hi everyone! This is the written pattern for the teddy bear from my youtube tutorial . After crocheting the bear, you can follow the video tutorial to make a personalised sweater for your plushie. The yarns and materials I used are on my amazon storefront . Paid partnership: If you think might benefit from therapy, I highly recommend considering online therapy with BetterHelp. Click https://betterhelp.com/mahum for 10% off your first month of therapy with our sponsor BetterHelp. Join over 4 million people who've met with a therapist on BetterHelp and started living a healthier, happier life.  Abbreviations & terminology: ss - slip stitch / sc - single crochet / increase = 2 sc in the same stitch / decrease = 1 sc through 2 stitches / stitch counts for each round are in brackets () You can start the pieces with a regular or "fake" magic ring then follow the pattern for the rounds below. To make a "fake" magic ring - make a slipknot, chain 3, slip stitch in...

how to crochet heart plushies, cushion, & keychain | video tutorial + free patterns

Image
Hi everyone! These are the written patterns for my youtube tutorial . You can pick from 3 different sizes for the heart - small for the keychain, medium for the plushies, or large for the cushion.  *the yarns/materials I used are available on my amazon storefront * Abbreviations/terminology: sc - single crochet / increase - 2 sc in the same stitch /  (x) -  stitch counts for the rounds are in brackets Small Heart (keychain) 1. First piece Make a magic ring & chain 1 Round 1: 6 sc Round 2: 2 sc in every stitch (12) Round 3: 1 sc in every stitch (12) - Fasten off 2. Second piece Repeat the same steps to make another identical piece, but do not fasten off! 3. Body Round 4: insert your hook through the first piece & sc, then 1 sc in every stitch around that piece (12 stitches) / 1 sc in every stitch around the second piece too (12) / total 24 stitches in round 4 Round 5: 5 sc, decrease, 10 sc, decrease, 5 sc (22) Round 6: 5 sc, decrease, 9 sc, decrease, 4 sc (20) Roun...

how to crochet cute bunny holding a tulip/love letter | free pattern + video tutorial

Image
Hi everyone! This is the written pattern for my youtube tutorial . We're going to work in continuous rounds of single crochet, so please remember to mark the first stitch of every round with a stitch marker or bobby pin.  IMPORTANT NOTE: you can sell the bunnies you crochet with my pattern but please note... 1. Do not use my pictures to promote your products (use your own pictures of the bunny you crocheted) 2. Tag me on all social media posts as the original creator of the pattern (my instagram & tiktok is @mahumcrochets) 3. If you're using my patterns for your business, please support me back by signing up for a free trial of Skillshare using my link -  https://skl.sh/ crochetwithmahum01242   (I will earn a small commission per signup that will help me purchase yarns/materials and continue creating more crochet content, thank you for your help & best wishes for your business!) Materials: You can use any yarn/hook for the bunnies but the size of the plushies will...

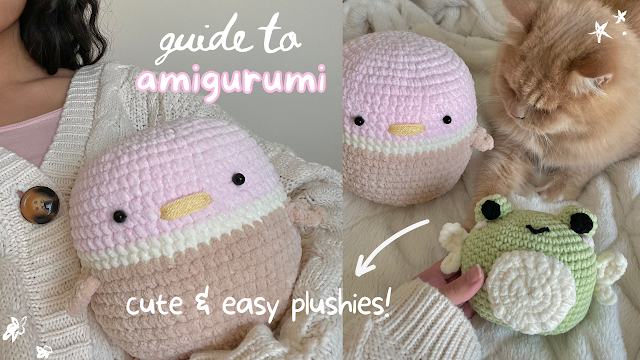
cute & easy DUCK & FAIRY FROG plushie - free amigurumi patterns + video tutorial (inspired by squishmallows!)

Image
Hi everyone, here's how to make these 2 easy & adorable squishmallow-inspired amigurumi plushies! Please note that this is a companion free pattern for my in-depth youtube tutorial . I highly recommend referring to the video for demonstrations for all the parts if you're confused, that's why I've mentioned the exact timestamp for the steps .  Abbreviations & terminology ss - slip stitch / sc - single crochet / increase - 2 sc in the SAME stitch / work in continuous rounds and use a stitch marker/bobby pin to mark the first stitch of every round  ice cream duck 🍦 Part 1: top section (increase rounds - 7:54 in video) Make a magic ring (or make a slip knot, chain 4, ss into the 1st chain, work the following stitches in the circle made in between the chains -  if you're confused, you can watch the video at  8:58 ) Round 1 - 8 sc Round 2 (16) - 2 sc (increase) in every stitch  Round 3 (24) - 1 sc, increase Round 4 (32) - 2 sc, increase Round 5 (40) - 3 sc, ...

matching pair of heart bookmarks - crochet pattern & tutorial

Image
Hi everyone! Here's the written pattern for bookmarks for both sides of the heart (left & right). This is a companion pattern to my YouTube tutorial which you can watch here to understand how to switch colors. These bookmarks will also make the cutest little gifts for you & your reader friends/family! Abbreviations & materials used: sc - single crochet / ch - chain / BC - background color / CC - contrasting color (color of the heart) / I used a 4.5 mm hook & 100% acrylic yarn to make my bookmarks sturdy. If you want to adjust the size of these bookmarks (eg. make the heart bigger or the bookmark wider), you can learn how to create & crochet with your own pixel grids from this tutorial of mine. Bookmark 1 (heart's right side) Row 1: start with a slip knot and ch 6, sc into the 2nd ch from your hook, insert 1 sc into every ch (total 6 stitches in each row which is the same number of boxes in the pixel grid) Row 2 - 10: insert 1 sc into every stitch with BC R...

photo card/polaroid picture cover with cat ears pattern

Image
Hi everyone, here's an adorable photo cover with cat ears! The size is completely customizable and your piece will be made to measure. A note on the pattern: I ran out of storage while traveling and had to delete some things from my camera roll. I accidentally deleted some pictures for the steps, but I've tried to make everything as clear as possible. If you have any questions, please DM me on Instagram!  Materials & Terminology: I used a 4.5 mm hook and yarn appropriate for that hook size. Abbreviations: CH - chain, SC - single crochet, SS - slip stitch, SC2TOG - single crochet 2 stitches together, this is basically a sc decrease where you insert hook into a stitch, yarn over and pull up a loop (2 loops on your hook), insert hook into the next stitch, yarn over and pull up a loop (3 loops of your hook), yarn over and pull through all the 3 loops on the hook.  Part 1: The back Start with a slip knot and ch till the length is slightly bigger on all sides of your photo (so...