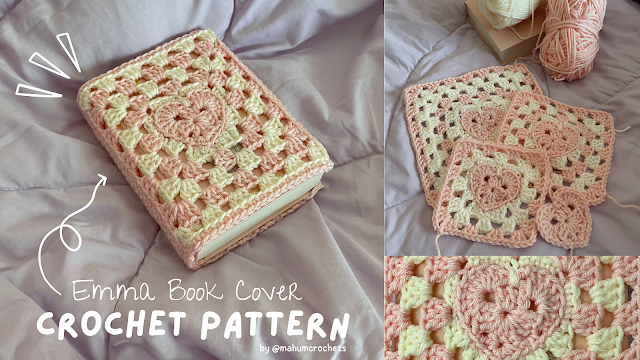
emma book cover crochet pattern (with pictures!)
 Hi everyone! I am so excited to share this free pattern with you.

Here are a few things to keep in mind while using this pattern:
The heart granny square is not my original idea! With this pattern, I'm only taking credit for the way in which I crocheted the heart granny square into a book cover. All the steps I took are either mentioned explicitly or linked to a specific technique or youtube tutorial I used. To be able to make this, you should be an advanced beginner or intermediate-level crocheter. That being said, I can't wait to see what you come up with! Please tag me in your creations (or send me a picture!) and feel free to DM me on Instagram (@mahumcrochets) if you have any questions.
Materials & Terminology:
Part 1: Crocheting a heart granny square
Crochet a heart following this youtube tutorial: crochet heart granny square tutorial. Once you're done crocheting the heart, you can either keep following the video (don't forget to refer back to this pattern for the steps that come afterward) to make the granny square or follow the pattern below.
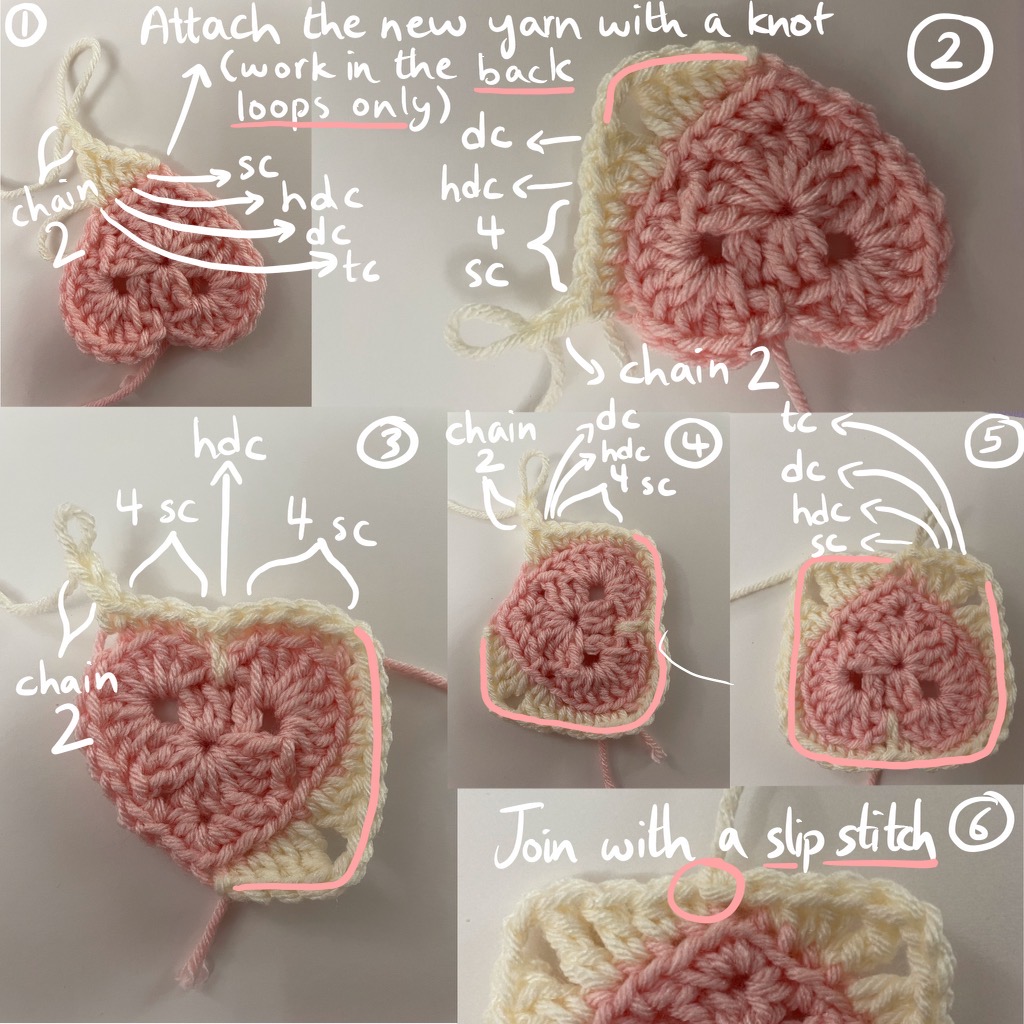
Follow this pattern as you go around the stitches of the heart (don't skip any stitch):
Sc, hdc, dc, tc, chain 2, dc, hdc, sc, sc, sc, sc, chain 2, sc, sc, sc, sc, hdc, sc, sc, sc, sc, chain 2, sc, sc, sc, sc, hdc, dc, chain 2, tc, dc, hdc, sc into the stitch where you attached the yarn, slip stitch into the next stitch, chain 1 to fasten off then cut the yarn.

Ch 3 and in the same stitch insert 2 dc (the ch 3 counts as your first dc so there are basically 3 dc in the stitch where you attached the yarn), ch 1, 3 dc, ch 1, CORNER *3 dc, ch 2, 3 dc*, ch 1, repeat adding *3 dc, ch 1* till you reach a corner (*3 dc, ch 2, 3 dc*), once you get to the stitch where you attached the yarn - dc into the same stitch, ch 2, ss into the top of the first ch 3, ch 1 to fasten off (you can cut the yarn).
Border 3 onwards: work into the gaps between the chain 1 or chain 2 spaces ONLY.
Attach yarn into a chain 2 gap, ch 3, 2 dc, ch 1, repeat *3 dc, ch 1* in every chain 1 gap. When you reach every chain 2 gap, repeat *3 dc, ch 2, 3 dc* to make a corner. When you reach the same chain 2 gap where you attached the yarn, insert 3 dc again, ch 2, ss into the top of the ch 3, and ch 1 to fasten off (you can cut the yarn to tighten).
Keep creating borders, alternating between colors, till the square is the same width as your book (as shown in the left picture).
After that, add a border row on the top and bottom of the square to give it a rectangle shape. You can do this by attaching the yarn into a chain 2 gap with a knot, ch 3, 2 dc, ch 1, and repeat *dc 3, ch 1* till you reach the corner, fasten off and repeat at the bottom row. You can repeat adding rows on the top and bottom until there's a bit of gap left (as shown in the right picture).


Attach the next yarn color at the bottom left corner of your square.
 The next steps are shown in the picture and the pink arrows show which direction to work in. Sc in the back loops of every stitch till you reach the corner, ch 3 - skip the corner stitches - ss into the stitch after (this creates a space in which you can tuck the corner of your book to put the cover on), ss into every stitch till you reach the next corner, ch 3 - skip the corner stitches - ss into the stitch after, sc in the back loops of every stitch all around till you reach the stitch where you attached the yarn. ss into that stitch, ch 1, turn your work and now do rows of sc back and forth.


Keep doing rows of sc until the rows are as big as your book's spine.
Once you're done, start doing rows of dc until the rows are as big as the back of your book. Make the rows a bit smaller than the back, this will create a nice tight stretch when you put the cover on. Fasten off once you're done.


Thks definitely trying this one 🙂
ReplyDeleteNice job. Embroidery Digitising Services NIce.
ReplyDelete